 Recall a time in your life where you desperately wanted something to happen… Can you think of one? Perhaps you thought of more than one. With that time in mind were you trying to, in your own power, make things work out the way you wanted them to? Did you want it so badly, that it was almost as if you were forcing a thing to happen? But the harder you tried, and the more upset you got, and the more frustrated you became, it seemed that what you desired most seemed to move further and further out of reach? Close your eyes… in the moments when you paused, took a step back, and tried to see things from a wider lens, did you see that you were not the only factor in the equation? Perhaps you even realized, although quite obvious, that others are involved and their input, choices, and decisions are necessary and critical inputs. However, these are the inputs you have no control over. These inputs, in fact, made you acknowledge that you can only do so much. Eventually, and some of us get there and some of us don’t - and sometimes it depends on the situation- but eventually you decide to sit back, relax and let God. You make a conscious decision not to let your circumstance regarding the thing you want so badly get you down any longer. You make a conscious decision to relax, breathe, and drop your heavy pack because there’s nothing you can do… on your own. In my experience, in the times that I relaxed, recognized, and remembered that I need to rely on God and His Holy Spirt living in me and that I need to demonstrate patience, because I cannot force things to happen, it was in those moments that things turned around for my good.  I’m excited to be able to offer this title again. My hope is that it will encourage you. Remembering the times I share in the book, encourages me to remember to relax and let God now. Sometimes the timing isn’t quite right. 
0 Comments
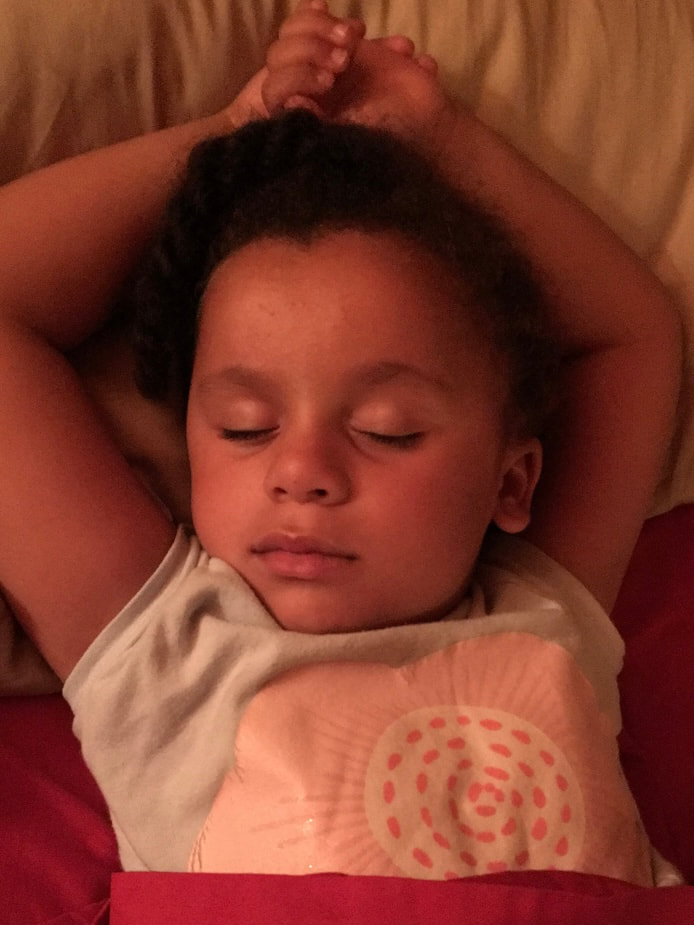 Take me back to my beautiful dream. My beautiful, peaceful dream.
I rarely remember my dreams after I wake up. How about you? One of my daughters does and she remembers them in great detail and she has them often. I once heard that it’s important to write down dreams you can remember …something to do with augmenting brain function. Anyhow, sometimes I can get back to where I was in a dream and keep dreaming…not always, but sometimes. My most recent memorable dream was definitely “get back in” worthy, not because I had to get back in to run from or successfully defeat a bad guy, rather because it was calm. It was peaceful. I woke up smiling and the muscles in my neck and upper back were relaxed…ahhh. Snooze time is over and now it’s time to get up. 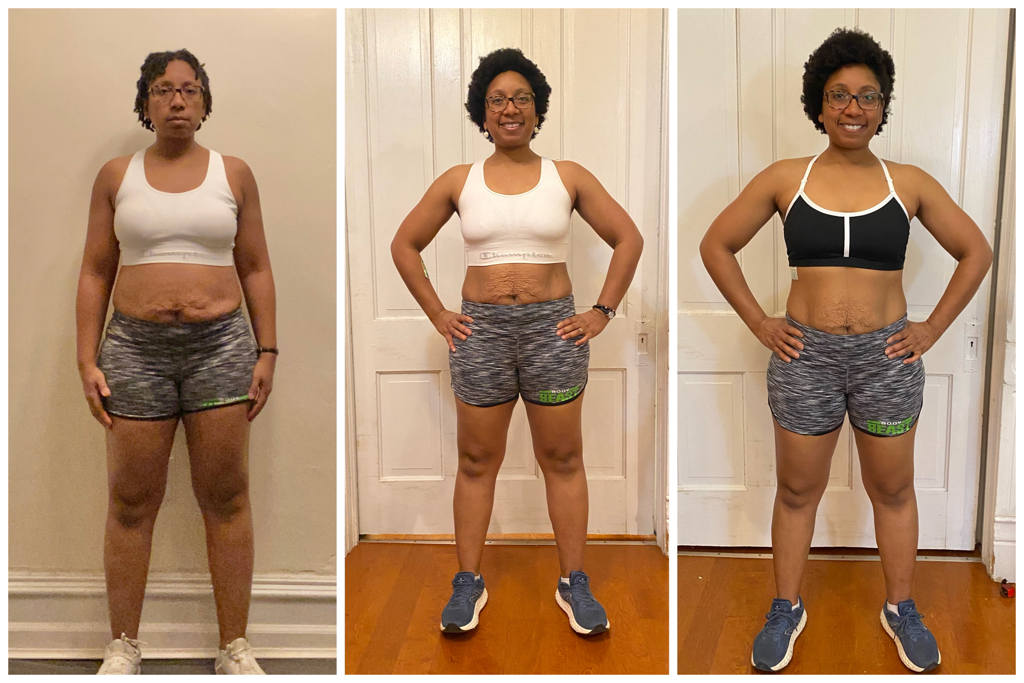 I began Thriving full-time with Thrive Classic in May of 2021. I started on Thrive Elite shortly after it launched in January of 2023.
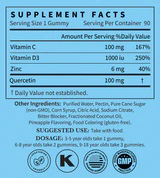
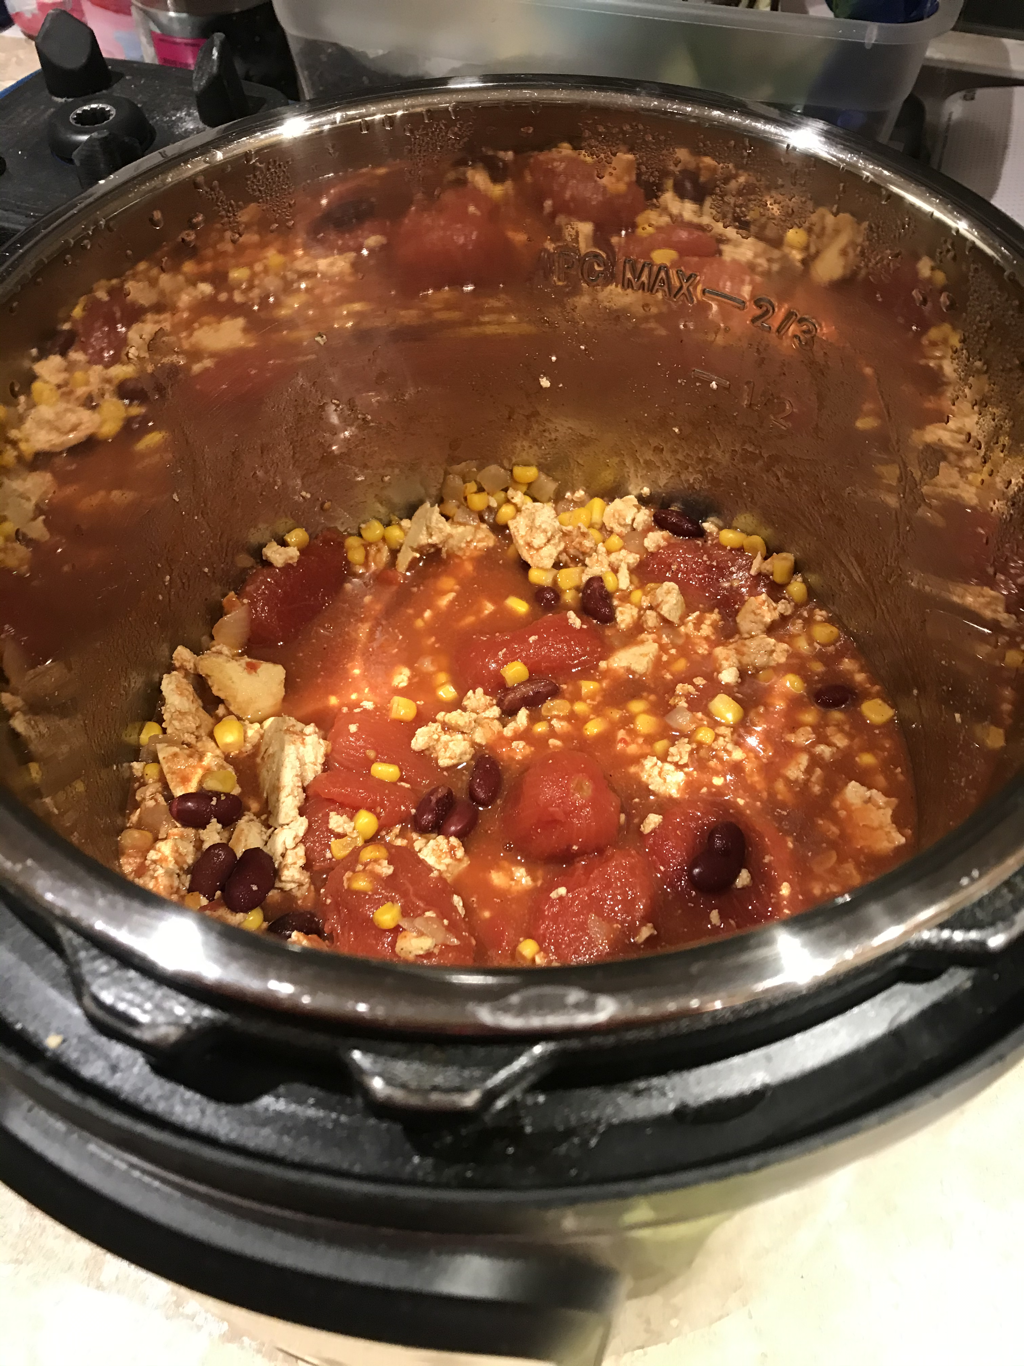
I say skip the samples and just start! Try these vitamins for 60 days!! More energy! Fewer cravings for junk. More regularity. More motivation to make time to exercise. I started the Ultimate Thriver challenge using Thrive Classic and switched over to Elite when my order arrived towards the end of January ‘23. Circulate, Duo Burn, Blast, Sculpt, Biotic, Balance, and Recover are what I mostly used and will continue to use. I have always been athletic, however the 6 months prior to the challenge were quite the adjustment. My youngest child is now in school a full day and what I found is that I was not getting the deliberate fitness related movement in that I used to get in multiple times a week in the past. In fact, I found that I was spending most of my time getting sucked into the black whole of laundry & dishes and not leaving the house at all before it was time to pick the kids up from school. Before the youngest started going to school full time, I’d make it a point to get to The YMCA for her swim lessons or for her to play with other kids in The Kids Zone while I worked out. This Ultimate Thriver challenge motivated me to get back to adding a consistent fitness routine to my Thrive Experience! I used one of my Beachbody fitness programs, I work out at the gym, I incline walked, and spent some time with a trainer making sure my form on various machines was correct. Having the motivation to get serious about a consistent fitness routine, Thriving, and seeing my progress, made a difference! Oh and the Elite lifestyle mix (aka shakes) is delicious!!! Ready to try my vitamins for 60 days? Thanks to my parents who gifted my husband and me a few bottles, I have been a consumer of the adult Z-Stack supplements for over two years and have found the adult capsules to be tremendous at warding off illness. When combined, these 4 vitamin supplements are POWERFUL: vitamin C, vitamin D3, zinc, and Quercetin and keep me healthy and keep viruses away! Check out short video if you haven’t already! I have found Kids Z-Stack to be just as powerful and the bonus is that ALL of my kids enjoy the taste! I tried them too…they are good and NOT loaded with garbage, artificial colors and sugar. See for yourself! Order Yours Now |
AuthorAllison Marschean is a wife and mother of 8 year old twins girls and a 2 year old baby girl who is kicking an autoimmune disorder to the curb with food and fitness, all while living her dimensions! Archives
June 2023
Categories
All
|


 RSS Feed